Inventory Adjustment
The Inventory Adjustment Function can be used when the On Hand Quantity in CBOS does not match your Actual Inventory Count. With the help of this function, the On Hand Quantity can be adjusted down or up, to match the Inventory Count.
Before proceeding with the Inventory Count Function, please read the following warnings carefully:
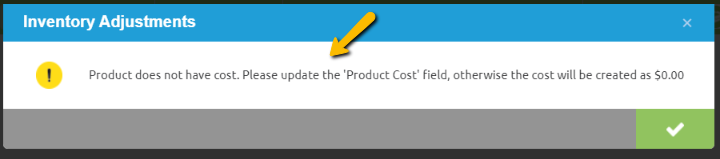
- Adjusting inventory must be done carefully, if the product does not have a cost calculated already (as in never transacted), a warning message will come up and the proper cost should be entered, otherwise the product’s cost will be created as $0.00 and this will affect the financials.
- If the inventory needs to be adjusted UP, we recommend using one of the following options:
- initial inventory upload, with cost.
- inventory move - if the product was moved from A to B without recording it.
- material receipt if it was missed.
- If your company is multi-org, please refer to Inventory Adjustments for Multi-Orgs.
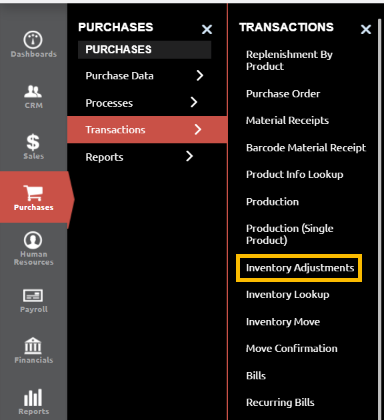
- To create an Inventory Adjustment, navigate to Purchases-> Transactions -> Inventory Adjustments
- Create a new Inventory Adjustment Header record by clicking on the
 Button located at the top right side of the screen.
 - Note: Timing is of utmost importance. The document must be created right before the count is done, and no transactions should be entered in the system or receipts/shipments done in the warehouse while the count is in progress.

- Fill in Document No (the system will auto generate this if left blank). Choose the warehouse where the adjustment should take place. If there is any additional information you choose to include, add it in the description field, then save.
- Once the Inventory Count Header record has been entered, it should remain in a Drafted status until the Inventory Count Line detail information has been entered.
- Inventory Count Lines can be created in two different ways: by product or by creating an inventory count list.


Option 1– Enter Inventory Count Lines Manually
- This option should be used when you want to do an adjustment for a certain product or set of products.
- Click on the Second Tab, "Inventory Count Line" at the top of the screen. Click on
 at the top right hand, select/enter the product you are making the adjustment to. The Product’s Locator from the Warehouse (that was selected on the header) will appear in the Locator Field and the ‘On Hand’ quantity (from that specific locator) will appear in the ‘Quantity Book’ column.

- Enter the new inventory quantity in the ‘Quantity Count’ column and click ‘Save’ or ‘Save and Add New’ if you have more lines to put in.

- In this example, by entering “8” in the Qty Count, the quantity will be adjusted by “-2” (Quantity Count minus Quantity Book).
- The product’s cost will come up automatically, but as mentioned before, if the product does not have a cost calculated already (as if never transacted), a warning message will come up and the proper cost should be entered, otherwise the product’s cost will be created as $0.00, and if this is not the real cost, it will create problems and affect the financials.

Option 2- Create Inventory Count List
- Click on “Create Inventory Count List” button, and then select the desired parameters for the count list that you want to generate:

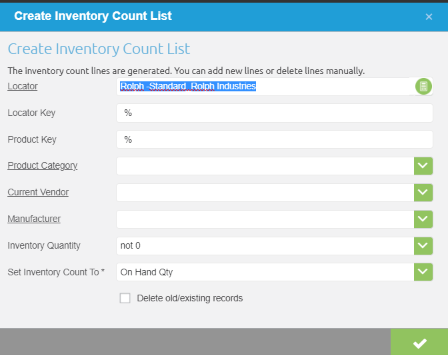
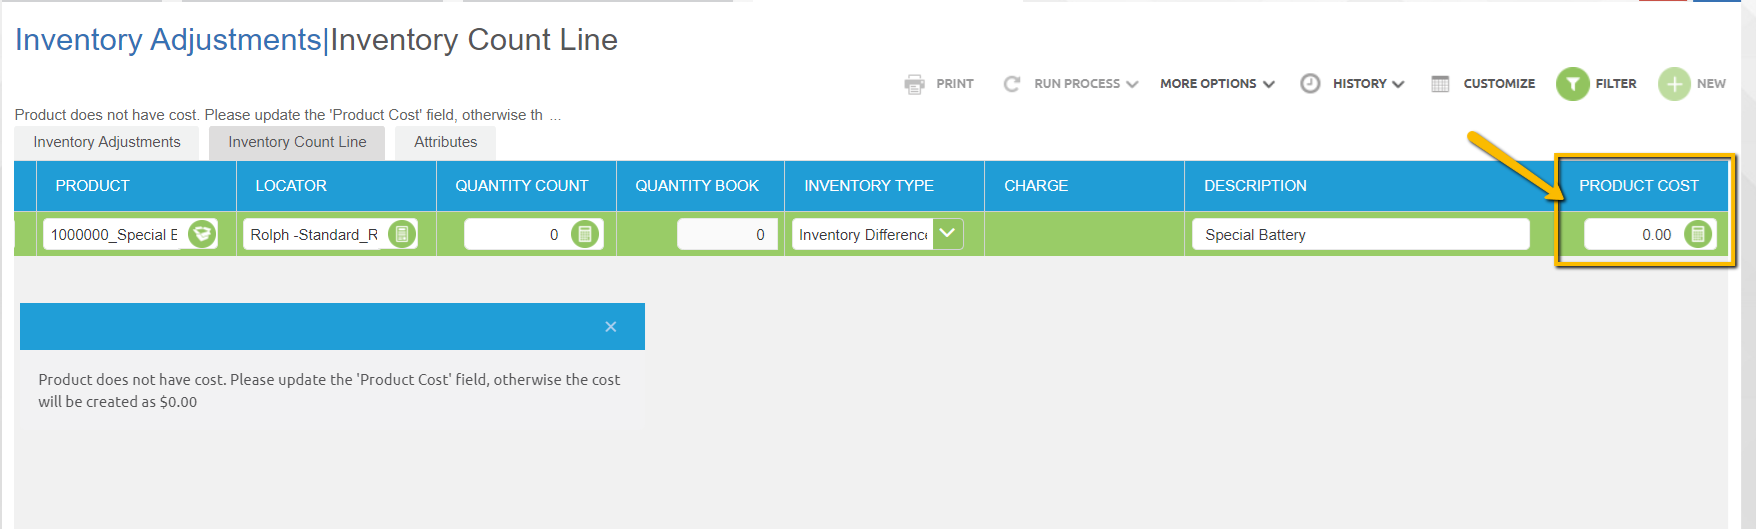
- In this example, the system will generate Inventory Count Lines for all the items that are stored in the Locator Rolph-Standard, Rolph Industries Warehouse and have an inventory quantity different than 0. (Quantity Count and Quantity Book will both be populated with the current on hand qty of each product):
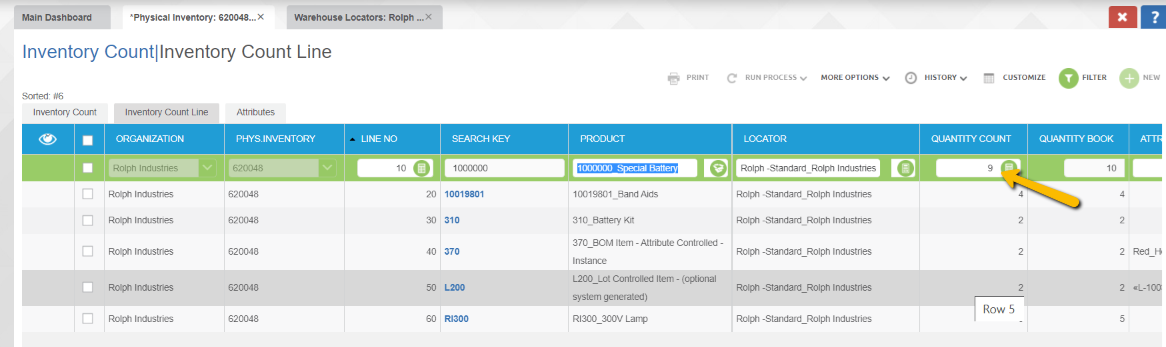
- To adjust the quantity of products, you can input the actual quantity in the Quantity Count column.
- In this example, by entering ‘9’ in the Quantity Count, the quantity of the product “Special Battery” will be adjusted by “-1” (Quantity Count minus Quantity Book).
- The Product Cost will auto populate with the current cost, or with $0.00 if it does not have a cost already calculated, in which case the correct cost needs to be entered.
- After you are done with all the inventory count lines, go back to the Inventory Count Header, click on the “Document Action” and select Complete.


- The quantity has now been changed to the new amount.
- If you scroll to the right, you can see if the document has been posted. By clicking on the POSTED button, a new tab will open with information about the accounts that have been affected by the inventory adjustment posting:


- In this example, because the Special Battery On hand quantity was adjusted by -1, the Raw Material Product Asset was decreased (credited) by $0.97, which is the value amount of 1 Special Battery; and the Inventory Shrinkage was increase (debited) by the same amount.