Internal Use Inventory Function
Step 1 – Enter Internal Use Header
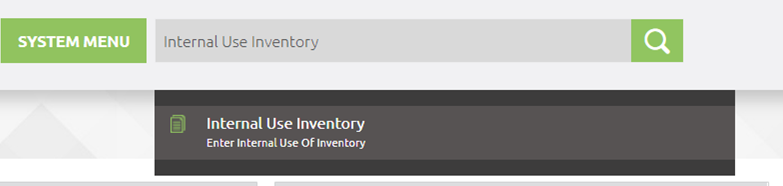
Type ‘Internal Use Inventory’ in the system menu to find the Internal Use window.
Create a new Internal Use Header record by clicking on the![]() Button located at the top right side of the screen.
Button located at the top right side of the screen.
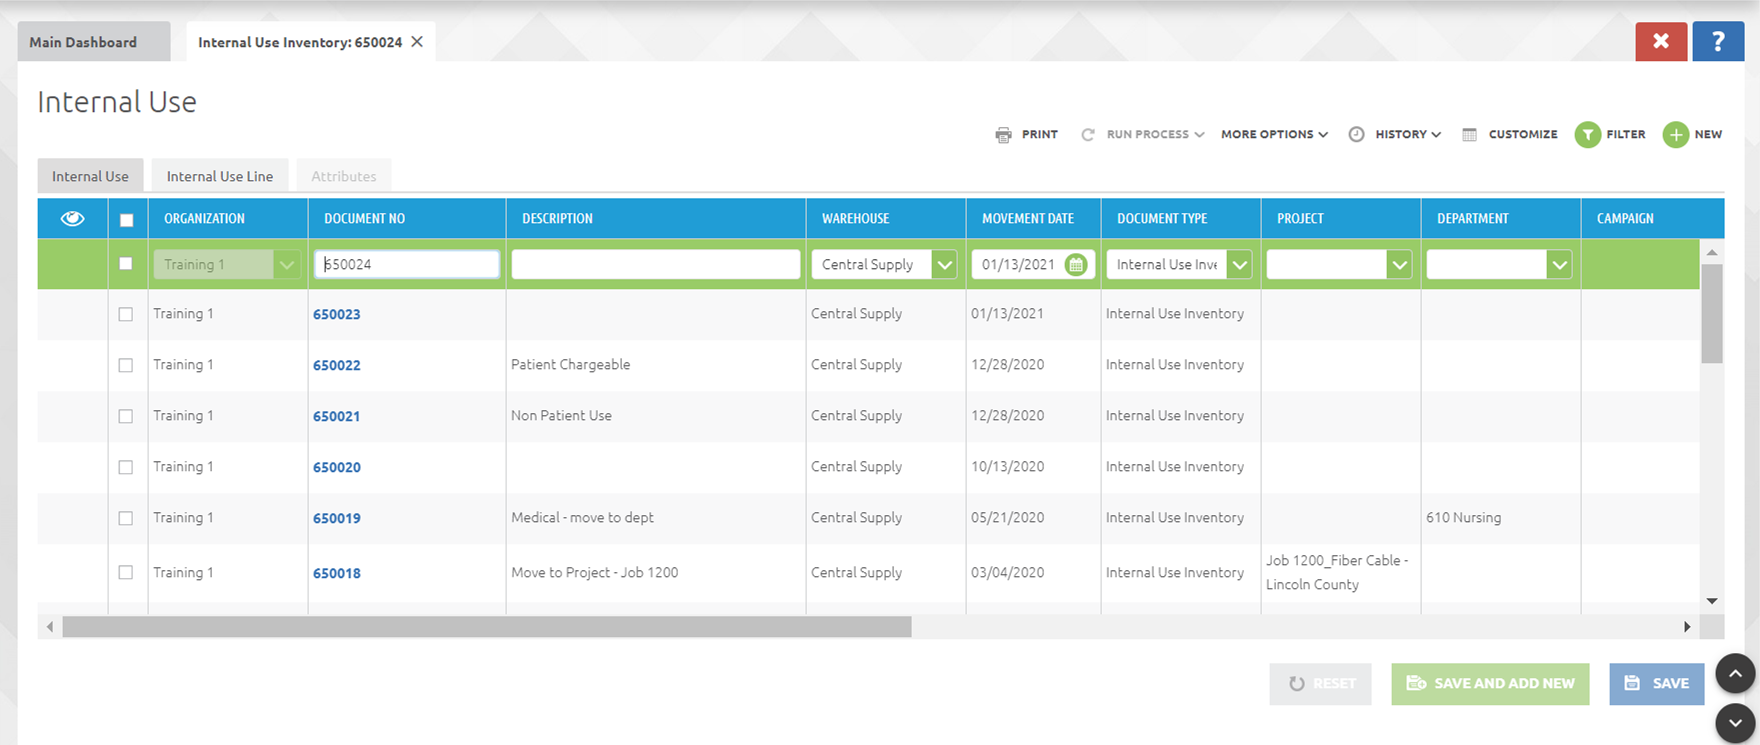
Fill out the Document Number (if left blank, this will auto generate upon saving), Warehouse (in which the products are located), Date (when the product/s have been consumed) and Document Type. The Department is not a required field, but it is strongly recommended to populate this field, as it shows which department has consumed the products.
Clicking on the Blue Document No. Value will switch the current grid view to detail/edit view, where the Internal Use Header information can be updated.
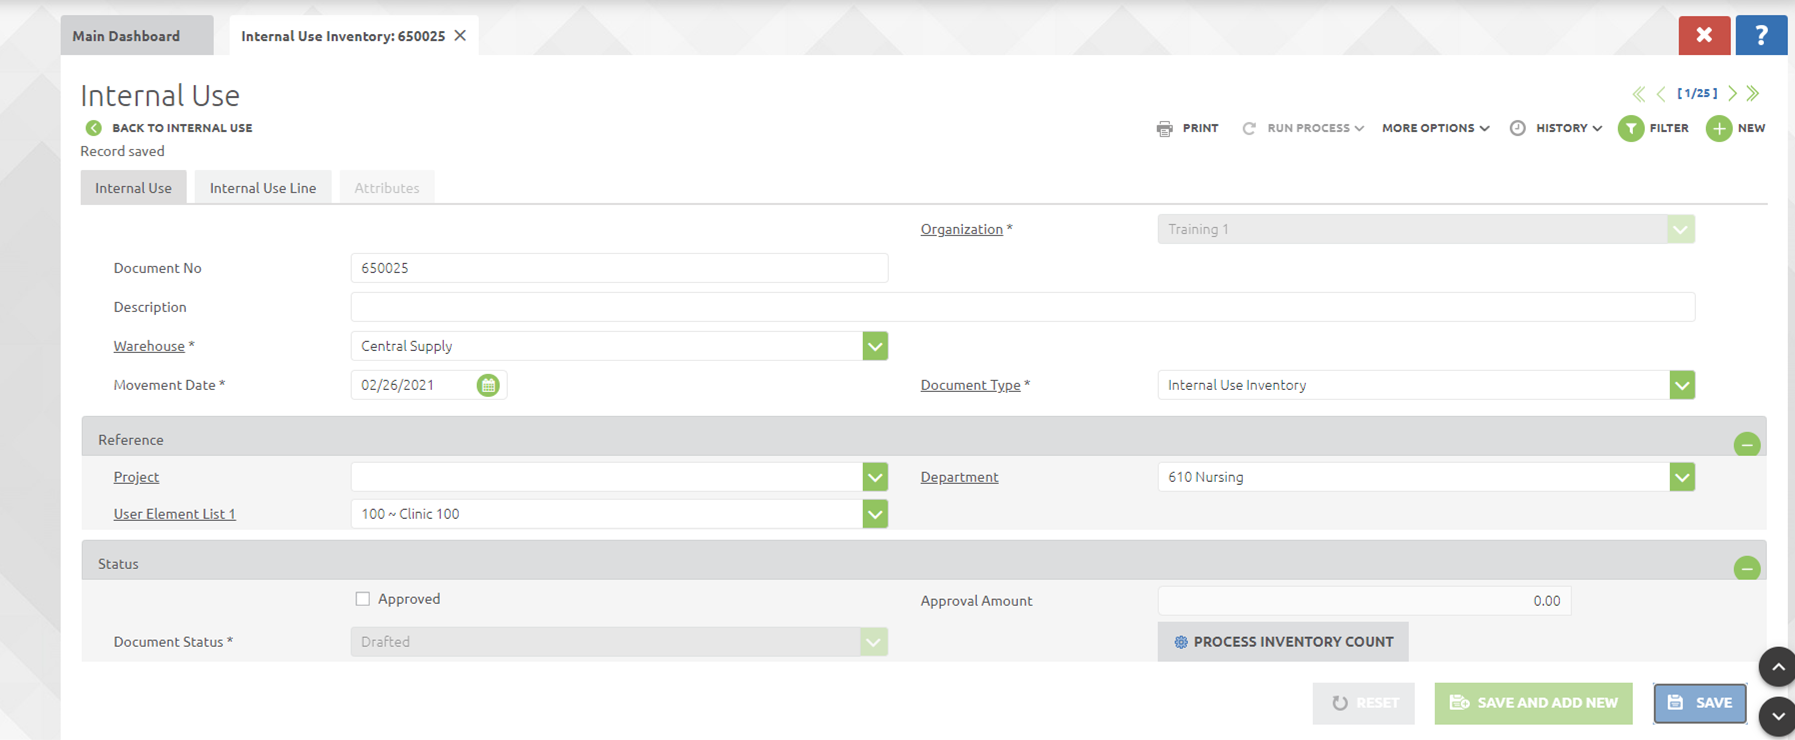
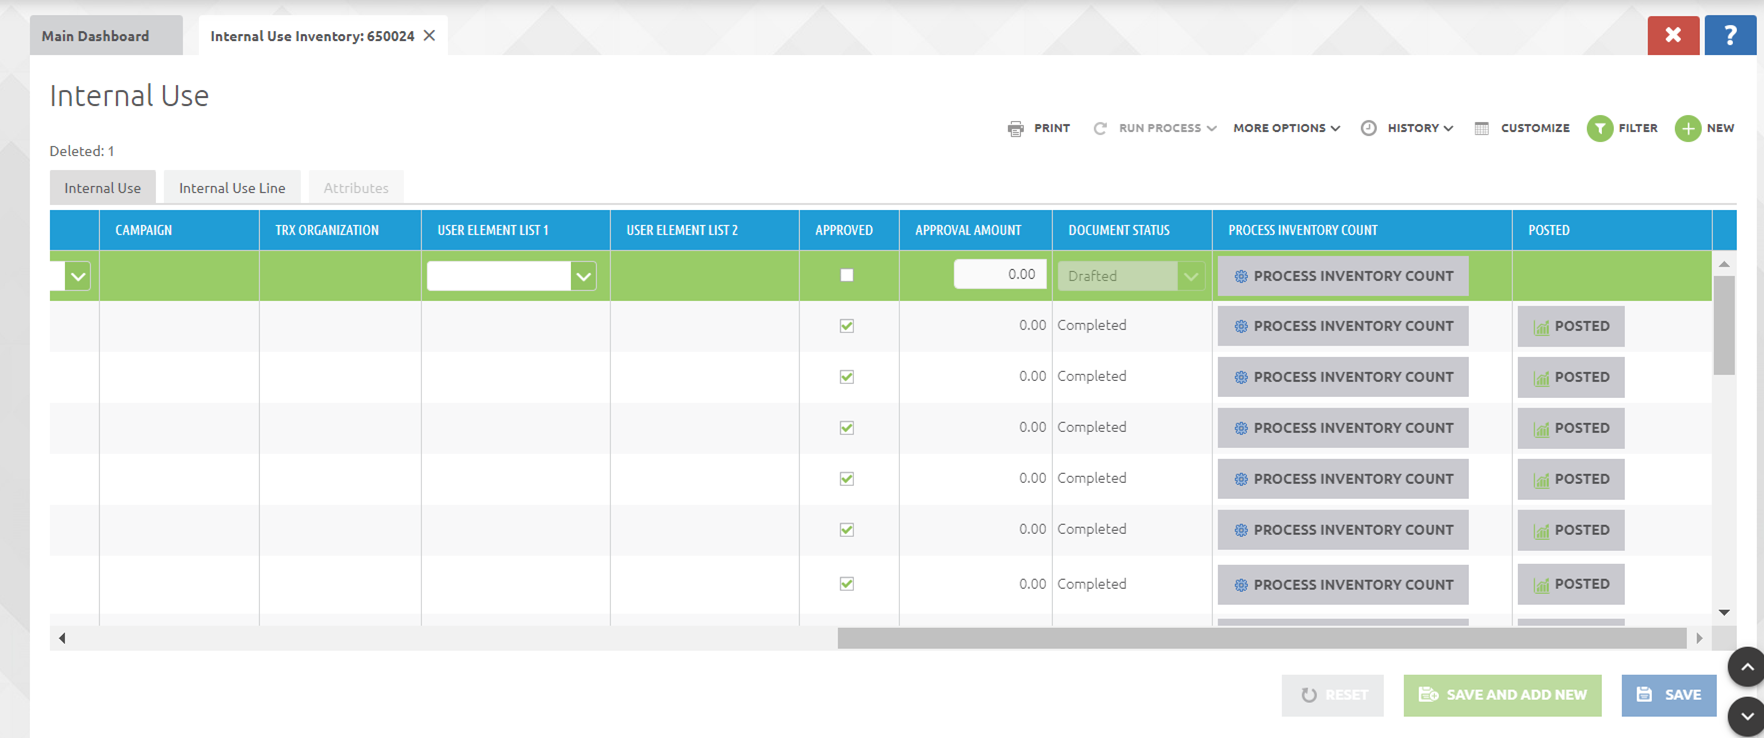
Once the Internal Use Inventory Header record has been entered, it should remain in a Drafted status until the Internal Use Line detail information has been entered.
Step 2 – Enter Internal Use Lines
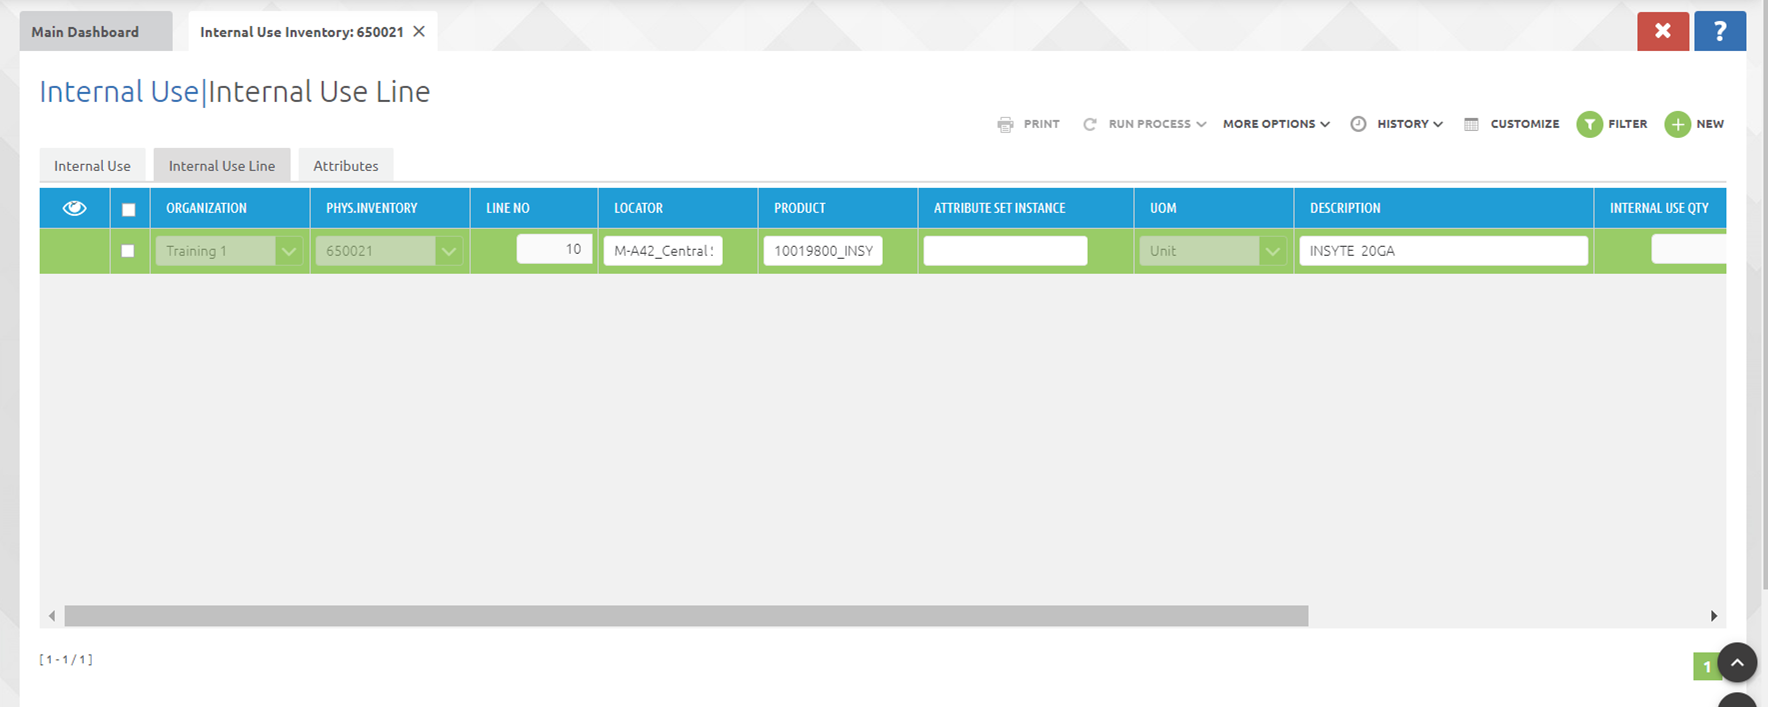
Click on the Second Tab, "Internal Use Line" at the top of the screen. Complete all the required fields – Product, Locator, Charge and Entered Qty. This tab should contain only items/products that have been consumed from the warehouse and by the department that you inserted in the Internal Use Header.
By clicking the![]() Button at the top of the screen in the Internal Use Line Tab, new lines can be inserted to address other product consumptions.
Button at the top of the screen in the Internal Use Line Tab, new lines can be inserted to address other product consumptions.
Step 3- Complete Inventory Use
After inserting all products in the internal use line, the inventory count needs to be processed in order to post the Internal Use. This can be done by going back to the Internal Use Header and clicking on the “Document Action” of the line you created and selecting Complete.